
Summary beginnings
This is an old version that I programmed in 2016 inspired by a post from security by default (post that without it would not be here I can swear).
Where they create a domotic orchard for monitoring tomatoes, peppers with real time graphs, and the help of Javier Salcedo (who hates to be labeled) who helped me to understand the observer/observable pattern (well I’m not very clever either) to notify all the UI’s linked to the session along with websocketska push.
understand the observer/observable pattern (well I’m not very clever either) to notify all the UI’s linked to the session along with websockets aka push.
After a while I improved the UI with responsive web design, here the circuit changed a bit,
since I used a triac bt136 plus an octoaclopler moc3021.
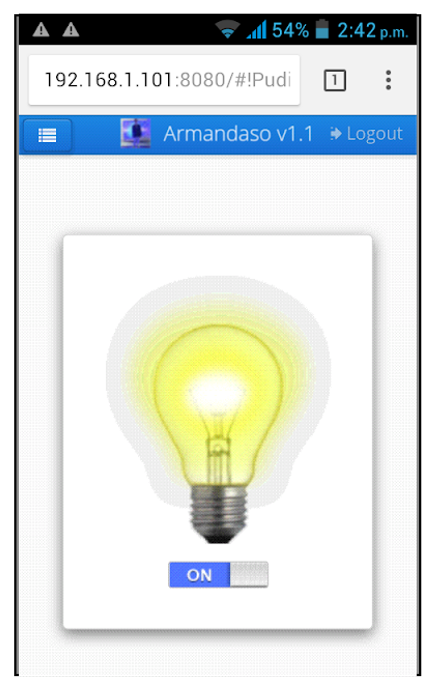
Something important to say is that the above has a limitation and it is the following: that the arduino must be connected to the pc by usb if or if, thing that is solved by means of a shield with wifi connection (wireless connection), or a ESP8266, the code between the arduino and vaadin would also change using http requests aka HTTPrequest, to an asynchronous server.
-
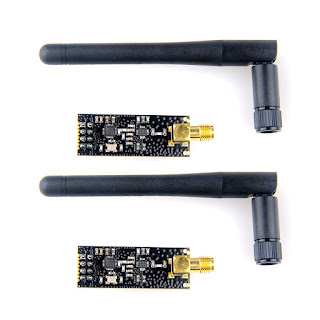
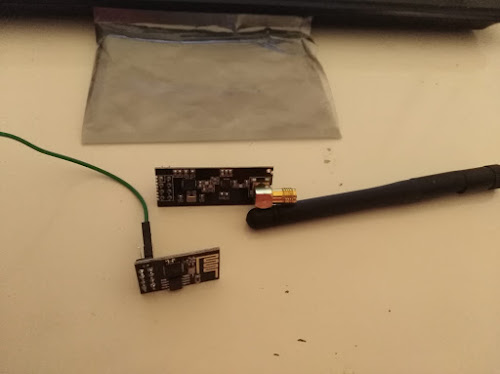
NRF24L01 + PA
-
ESP8266
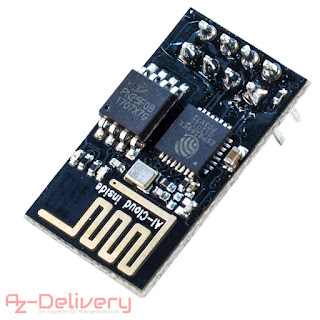
I had thought about the NRF24L01 + PA I really see much more advantage over the Esp8266 ESP-01S and it is because you can place an external antenna.
I have thought about the NRF24L01 + PA, I really think it has more advantages over the Esp8266 ESP-01S and it is because you can put an external antenna, in the image you can see a 5 dbi omnidirectional antenna it seems, but it is not specified,
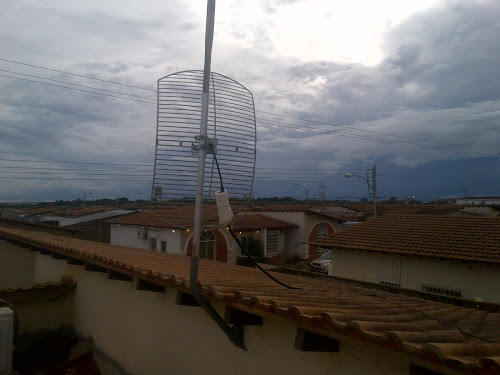
and it is the least of it, putting a 25dbi grilled directional antenna mmm, something tells me that if you would notice a difference XD,
would it be like this? XD, my old configuration that I had in the mother Venezuela, although with what I know now the
NRF24L01 is now used for other reasons, together with another one like it, programmed receiver-transeiver
24dbi directional grid antenna
They are more or less the same in real life, quite small both.
We’ll have to wait one more week until the rest of them arrive. XD a sad face of drama

To be continued
Back here, on 6/15/2019 an ordinary, typical day.
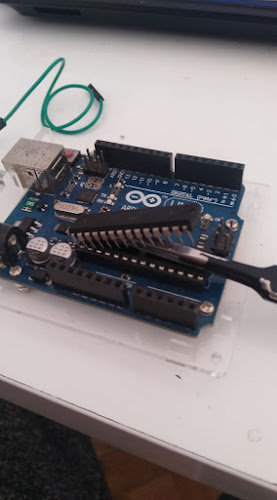
not bad, right? they are a bit long, well, we remove the atmega328p with care better, an anti-static tweezers.
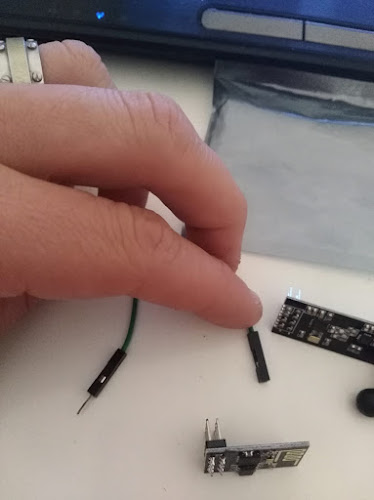
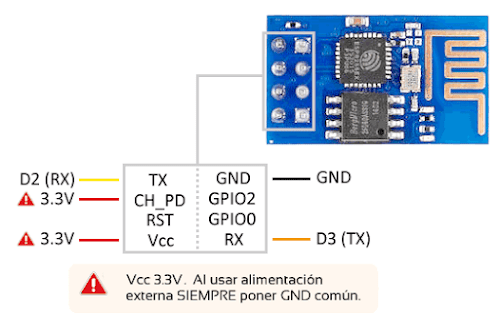
This is the pinout I am using
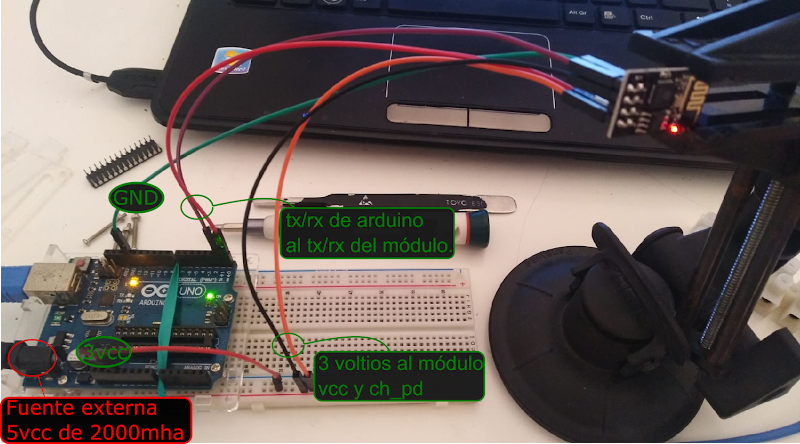
An image of how I have the fine connection
We will configure now, the speed to 9600 baud, by default it comes to 115200, we connect to that speed,
with NL/CR(new line, and carriage return), we will only remove the 3v voltage, to enter a command, you will see the
console output some strange characters.
We enter this command to make it permanent.
AT+UART_DEF=9600,8,1,0,0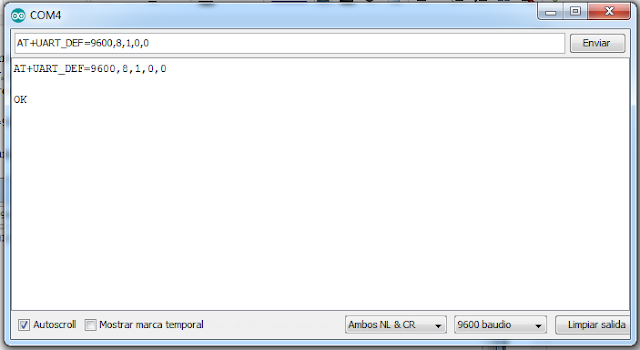
With this command we see the version
AT+GMR
We type AT+CWMODE? to see in which mode we are most certainly two.
With this command we configure it as station and ap mode.
AT+CWMODE=3Let’s scan available networks
AT+CWLAP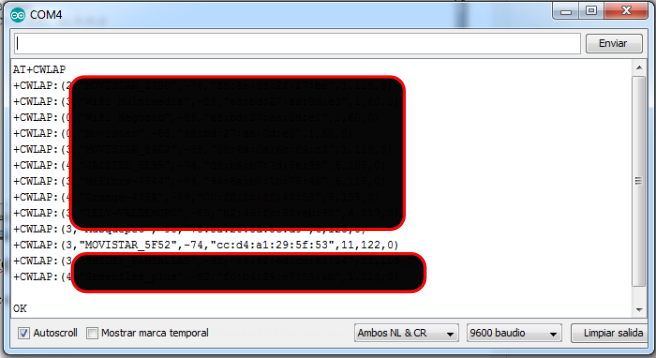
We connect with
AT+CWJAP="Choristar_5F52","AquiNoEntraNiElDiablo"When connecting, it should appear in the IDE console…
WIFI CONNECTED
WIFI GOT IP

OK
We configure to accept multiple connections with
AT+CIPMUX=1We create a server on port 8080.
AT+CIPSERVER=1,8080Now enter ipconfig/ifconfig to obtain the ip address of the module.

Don’t tell me you believed such a cyber-slut? it really is:
AT+CIFSR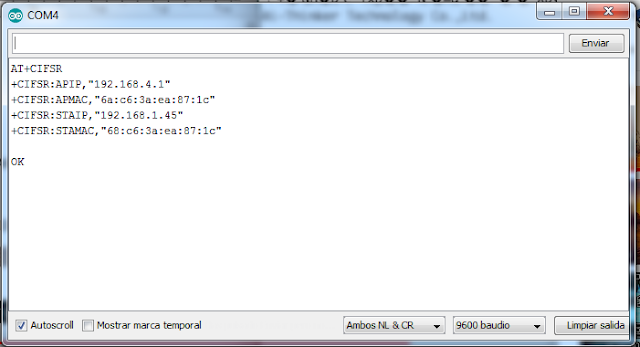
With this java code we can make a HttpRequest with post, using open jdk-11, this is the ip address
Testing native HttpClient of jdk-11
private static final String IP_ESP8266 = "http://192.168.1.45:8080/";

public void hacerPostESP8266() {
    final String pin = JOptionPane.showInputDialog(null,"Introduce On o off");
        if(nonNull(pin)) {
            try {
                final HttpResponse<String> req = HttpClient.newBuilder()
                           .build()
                           .send(HttpRequest (1)
                                    .newBuilder(URI.create(IP_ESP8266 + pin.replaceAll("[\\,\\s+\\.0-9]+","")))
                                    .header("Content-Type", "text/plain; charset=UTF-8")
                                    .POST(HttpRequest.BodyPublishers.ofString(""))
                                    .build(), HttpResponse.BodyHandlers.ofString());
                    LOGGER.info("Estatus code: " + req.statusCode());
                } catch (IOException e) {
                    LOGGER.severe(e.toString());
                } catch (InterruptedException e) {
                    LOGGER.severe(e.toString());
                }
        } else {
                JOptionPane.showMessageDialog(null,"Valor invalido");
        }
}| 1 | This method is synchronous, but as it is such a fast operation it would not matter much, there is async. |
As far as I can see the module sometimes hangs for no reason so when that happens, it will be necessary to set the commands AT commands for multi-connection server, and activate the ip with port like this, it’s bull shit but that’s all there is in the meantime.
AT+CIPMUX=1

AT+CIPSERVER=1,8080
We will have to improve this, because the ESP8266 module can be flashed with a firmware to program it with the arduino IDE thanks to a Russian Ivan Grokhotkov who ignited the spark, here is the repo ESP8266 repo
Update
Another way to execute a request
This example is with project reactor, it could give a way to make an asynchronous request and by the way using jbang equally with the native HttpClient.
-
You have 2 Url to get the
public ip, it would be the same but changing it to local and modifying a little to do POST, -
Then if a url fails for some reason, we execute a fallback.
In the following link, flashee my ESP8266